Ficus Bonsai Trunk Fusing Experiment
This is an experiment that I began on 4/15/06 where my goal is to create a ficus bonsai tree that will appear to be very old, with an impressive tapered trunk, in a few short years. My experiment is inspired by Doug Philips who has been doing this with Maple trees for over a decade. I learned about his process on his website: dugzbonsai.com.
Below is a photo-documentary of my experience with this process thus far.
 I used a washing machine overflow tray and three 4′ x 12″ planks cut in half.
 5/4/08 - Here are some shots of the fusing progress.


 Pruned off the strongest shoots from the top to encourage more growth below.
 3/30/09 - Repotted into smaller pot. Struggling to recover after cold winter outdoors.
 8/4/09 - Making a strong comeback in the summer heat.
 10/25/09 - Continuing to thrive in it’s new home. We’ll see how it tolerates the colder months. I’ll probably protect from frost w/ burlap this year.
 12/21/09 - Frost got to it before I could protect it. About 70% of the leaves are now dead. We’ll see how it recovers. Must stay on top of this next year.
 3/26/11 - Sorry for the delayed update. It’s basically healthy again but most of the growth is coming from around the base. it’s hard to really get a good picture of how much of the trunk is dead, but it’s at least the top 25%.
 Separating individual trees from root ball while trying to keep root damage to a minimum.
 This is the same area as pictured directly above after 6 months of growth.
 The base of what will be the trunk.
 2/8/10 - Tragedy strikes. All these branches died all the way back. Probably going to loose a good portion of the trunk top as well.
 PHASE 1 - After gathering my materials during the preceding week, I sat down at 1:30pm on 4/15/2006 to begin my project.
 The frame was made from flexible wire and coat hangers during the preceding week.
 Ficus Benjamina seedlings in 6″ pots from home depot. I ended up having to get more of these when I ran out half-way through.
 Separating dirt from roots with a chopstick.
 Seedlings separated by size.
 First four attached to frame with plastic coated twist ties. I used about 70 feet from a 100 foot roll.
 I decided to only remove branches and leaves that got in the way to minimize the trauma to the plants.
 This part took a lot longer than I’d imagined.
 I misted often with a spray bottle to keep the roots from drying out.
 My fingers and back were sore the next day – I wished I’d had a workbench so I could stand up.
 I found that I had to be careful not to break the roots as it grew heavier.
 Finally closed the last gap at 2am.
 Close-up of the trunk. The idea is that the tree will grow over the twist ties resultingin texture that will add character and age.
 Close-up of the bottom – the hollow inside is mostly obscured by the roots.
 Another close-up of the trunk after I planted it in the 16″ diameter pot at 2:30am. I put a few handfuls of soil inside the trunk cavity like stuffing a turkey so the roots would have some cover on the inside.
 The next day.
 A couple days after the initial operation, it was suggested to me that I defoliate the trees in order to induce dormancy. This will make it easier for the trees to recover since they will not transpire moisture through the leaves.
 Defoliation has also made the apex visible which allowed me to finalize this area by isolating a single leader and making the rest of the trees exit at random points.
 You can see the curvature in this shot. Assuming the trees survive this initial trauma, I’m hoping that the trunks will start to fuse within a year or so. Then I’ll start to focus on training and styling.
 PHASE 2 - Well it turned out that separating all of the ficus seedlings from their intertwined root systems was not without consequence. I had about a 10% survival rate of the original trees. After a month or so, most of them had died. There may have been more I could have done to keep them alive – like encasing the whole thing in plastic to keep the humidity higher, and not defoliating them. Regardless, I’ve removed the dead ones and employed a new technique for their replacements. Instead of separating the trees into individuals I’m now leaving the bunch together and simply planting it next to the frame and then bending the trees over to tie them up. Thanks to my wife Tammy for suggesting this approach.
 As you can see in these pics, the frame is mostly bare. To the right there is a bunch that has been planted next to the frame. Once it has had some time to stabilize, I’ll bend each tree over and tie it to the frame so that it looks like the section on the left. This technique has already proved to be much more reliable in terms of survival rate.
 Here are a few more clusters that have been added and tied into place.
 I built a mini-greenhouse for propagating the cuttings that I will use to fill in the rest of the gaps. Cuttings make the ideal source material for this type of project for these reasons: a.) they’re free, b.) they have a small root mass which makes it easier to plant them close together, and c.) they can have a large diameter if taken from a large source tree.
 I used 2mm clear painters plastic and some flexible wire similar to coat hanger wire. Keeping the humidity high should increase the survival rate.
 11/20/06 Update - Here is the current state of the project. Looks like a big bush.
 Here is what the finished trunk looks like currently w/ the new approach of planting clusters instead of individual seedlings over the past couple of months.
 Here is a close-up of an area that is starting to fuse. There are a few places that look like this. Once the fusing begins the growth becomes vigorous in that area. You can see that one of the twist ties is almost completely enveloped by the trunk. Sometimes the twist ties break from the pressure of the expanding trunks after the fusing begins. I’ve been cutting the wires and pulling them out once they’ve done their job. I figure it will heal faster that way rather than leaving it as an inclusion.
 5/16/07 - Update As you can see, the bush has grown quite a bit in the past 6 months.
 8/24/07 Update - Here are a few shots of the fusing progress.
 It’s starting to look more like a single trunk now.
 11/7/07 Update - More fusing progress.

 12/18/07 Update - I built a pine growing box to repot it in a shallower container to begin training the root system, and give them a little more room to grow.
 The roots had filled the previous container after one year.
 I loosened half of the dirt out of the roots so that it would fit into its new home.
 Repotting allowed a better view of the trunk. It felt very solid and unified.
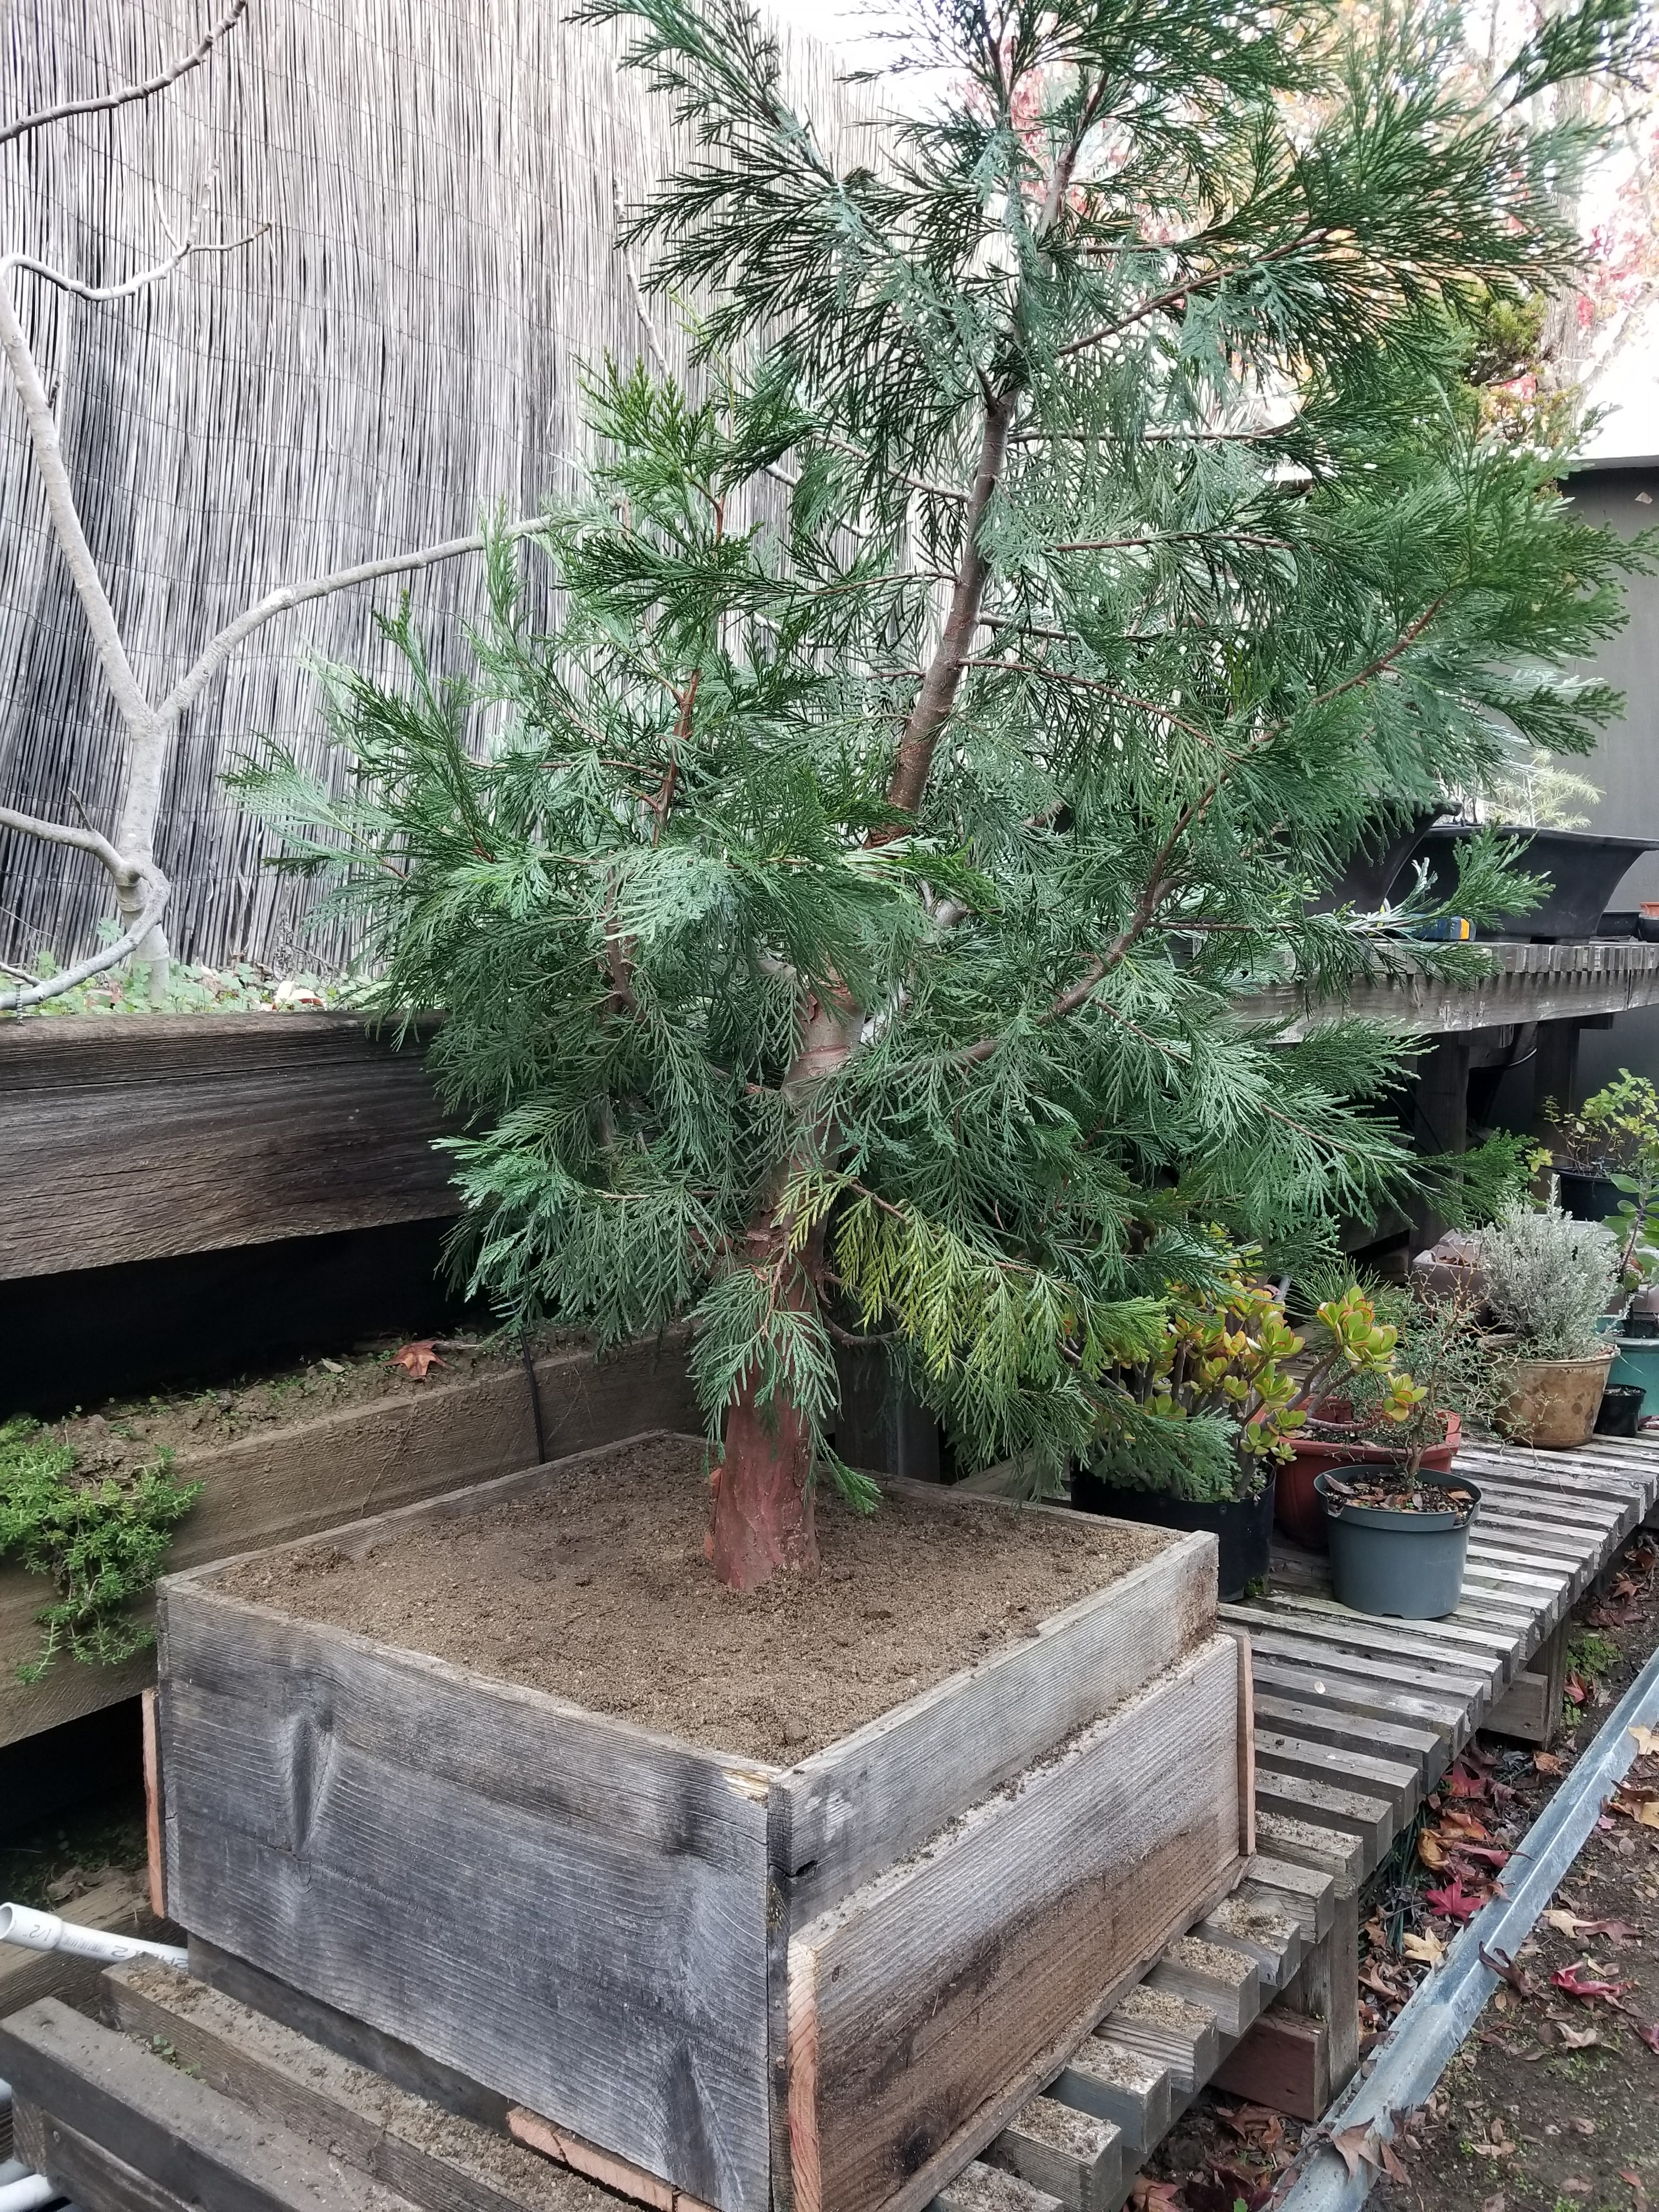
 2/20/12 - I finally planted this guy into the ground in our Atrium. It's the perfect climate for a tropical.


Phase 1 project data:
- Source trees: nine 6″ pots @ $5 = $45 + one 15″ pot @ $30 + one 12″ pot @ $10 = $85 (I have about 20 small seedlings left over and would have used just bigger pots w/ bigger seedlings in retrospect)
- Supplies: 16″ pot $7 + twist ties $4 + frame wire $4 = $15
- Total materials cost approx = $100
- Wire frame dimensions: 12″ high x 6.5″ base diameter x 20″ circumference
- 70 trees were used to cover the frame
- Finished dimensions: 7.25″ diameter of base x 12″ height above soil to joined apex, 24″ total height w/ leader.
More knowledge to add to the pool:
- Keeping the seedling clusters together is definately the way to go. Just shake out the dirt from the root ball to keep them compact when you plant it next to the frame.
- The cuttings did have about a 70% rooting rate, but I found that seedlings grow and fuse much more quickly, so I ended up using them almost exclusively in the end.
- I have all of the gaps filled in now so that it looks like it did at the end of phase 1, and fusing is progressing nicely. I’ll update w/ new photos soon.
Hello ! I found your site very inspiratonal. I planning on starting a ficus trunk fusion experiment and your step by step pictures were very instructional. Felt really bad seeing the ficus suffering from forst damage. I wanted to know what happened next, did you loose a lot on the trunk?? How does it look now, could you update us?
Hi Amey,
Thank you for your kind words and interest in my project.
The ficus is recovering very well – I protected it from the frost this year and it appears to be doing fine so far this winter.
I do have some more recent pictures that I plan to update the site with soon.
Best regards,
Steve
Looking forward to your update. I am glad it survived the frost. This is a neat project and I think the dieback may actually add even more character.
Hi Carl,
Thanks for you interest! I finally posted an update just now. I’ll try to get some better pictures to capture the state of the trunk. It’s hard because I don’t want to cut the branches yet.. Maybe a couple more years and I’ll be able to get into some styling. Having it outdoors in zone 9 (moved to the suburbs) is definitely an added challenge (frost protection) than when it was indoors when I lived downtown..
I don’t see the update you mentioned above, is it on a different website?
Hi Dave,
I’ve just been updating the post above by adding new thumbnails to the gallery. You can follow the progression by looking at the date at the beginning of the caption under each image.. Thanks for your interest.
Steve
Thanks a lot for this incredible page!!! Best I ever found. Especially your affectionate step-by-step explanation is matchless. I am endorsing Carl. A bit of ‘nature’ will make your tree even more unique.
Greetz from Germany.
Dominik
Thanks for the kind words Dominik!
Wow! What an emotional roller-coaster ride! You have fantastic patience. Thank you for sharing your journey…I’m learning so much. Your hard work and dedication has payed off…well done! I look forward to seeing and learning more. Thanks for sharing, Steve.
Leslie
Thanks Leslie – definitely a challenge to stay positive about it sometimes. Thanks for the kind words!
Great story, looking forward to the next chapter, good luck from Ireland.
Thanks Vincent!
I enjoyed watching your progress. I have started several projects (Dawn Redwood, Trident Maple, Ogon, Chinese Quince and Japanese Maple) and encounter many similar problems. It is a real trial and error process. I hope you try this again on a different species. Have fun!
Hi Greg,
Thanks for sharing – it’s a good reminder that I can do this with cold-tolerant species. I saw your site at fusionbonsai.com – very cool and inspiring!
Hi,
I plan on doing something similar with a bunch of microcarpa cuttings, could you shoot me an email? I have a few questions.
Hi Ryan,
Post away with your questions – I’ll do my best to answer them here.
Cheers
Steve
Thanks Steve, but could you shoot me an email so I can send you pictures as well?
Hi Ryan – thanks for the suggestion. 😉 I’ve added the ability for you to post images in your comments. I want to keep our discussion public so that other visitors can benefit from it as well.
Thanks!
Excellent. I’ve built cones out of wire mesh, and they should work pretty well for me to attach cuttings to (once they root).
Question though, I assume you leave the cone in forever?
Hi Ryan,
Thanks for posting the picture!
Your cones look great – smart approach.
Yes, you would leave them in place forever and the tree(s) will just grow through and around them.
Steve
Thanks Steve. I see you used benjamina for this project, any particular reason why? Do they fuse faster? Or were they just what you had locally?
That was just what was easily available at the time. I think microcarpa has smaller leaves tho – so that would be better if you have access..
I’m rooting a bunch of cuttings of microcarpa now, but I’m interested in experimenting with benjamina. A nursery local to me does have some in 6 inch pots. They’re clumped like yours, but I could separate them.
Do you strip all of the lower growth from the trees?
I wouldn’t strip any leaves or branches at all if you can avoid it – that will just slow down the growth and fusing. I would also aim to disturb the roots as little as possible for the same reason.
Thanks Steve. Unfortunately, seeing as they are clumped, I don’t think it’s very possible to disturb the roots as little as possible LOL
Look at my journal entry above that starts with ‘PHASE 2’ – I talk about my experience with that – you can leave the clumps together and just bend the trunks where you want them to go – you’ll have a higher success rate with this approach even tho it’s more challenging to position the trunks..
I’ve tried this way before, just tying them together, but was mostly unsuccessful. The clump also lacked any sort of taper and even had reverse taper, unfortunately.
That’s not what I mean. Look at this picture – you can plant the clump next to the frame, and then bend each trunk over and tie it to the frame – this way you don’t have to mangle the roots and the survival rate is much higher.
Ahhh I see. However, the clump I have has trees that are a bit thicker, so I’m not sure how possible that will be.
i got it thank u
I am starting a project like this with bougainvillea vines, but I am doing it with one of my former Bonsai (ficus)rather than wire mesh because I want to carve out the dead wood later. Am I deluded in my plan?